Evaluation tool 12 – Photograph diary
What is this tool?
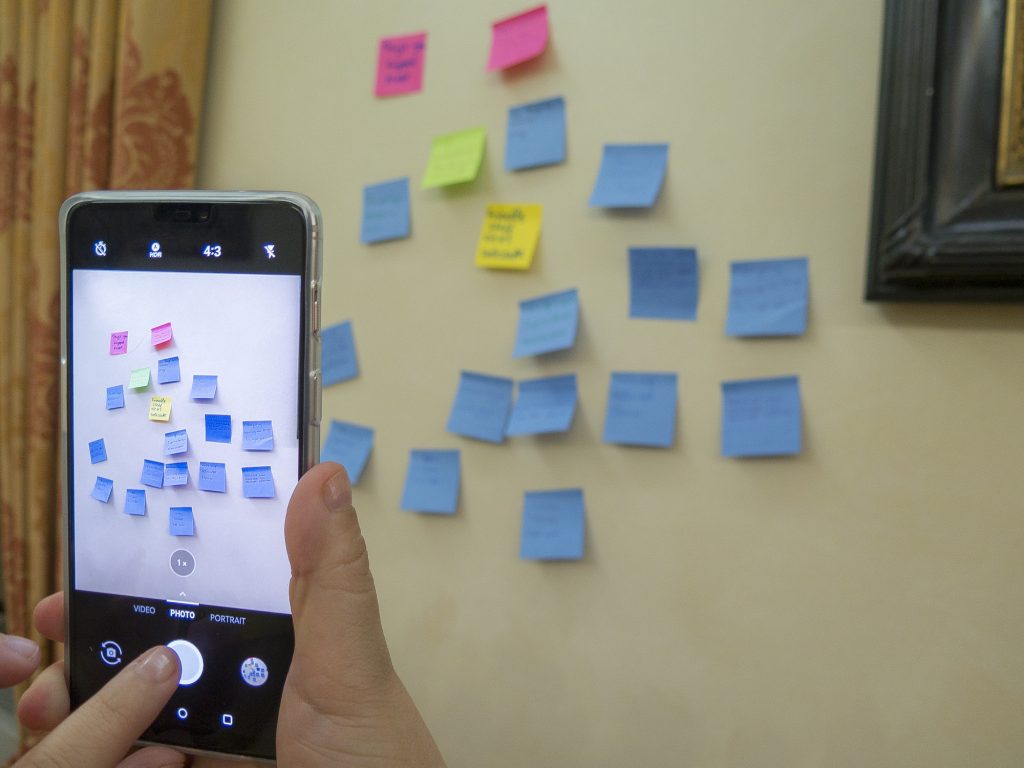
This tool invites participants to keep a photograph diary and to capture, select and discuss images relating to an event that are especially meaningful to them.
Responses in participants’ own words can provide great insights that are otherwise very difficult to attain. It is particularly helpful during the implementation of a new programme of activity, to check how things are going and provide formative feedback opportunities.
What kind of activities can I evaluate with it?
Photograph diaries are particularly effective with secondary students and for interactive workshops or ongoing series of events (astronomy clubs, or courses), but can be used with most audience groups.
Photograph diary at a glance…
| Who: |  |  |  |  | ||
| What: |  |  | ||||
| Data: |  |  | ||||
| Time: |  |  |  | |||
| Gain: |  |  |  |  | ||
| GLOs: |  |  |  |  |  |
When should I use it?
This tool is best suited to use at the end of an event.

What do I need?
- Phones, tablets or cameras for participants (including you) to take photos.
- A shared folder or social media hashtag so that participants can upload or share their photos
- A projector / computer screen / printer to view the photos
- A quietish place to be able to hold individual or small-group discussions (allow at least 20 minutes)
- A means of recording the discussion or a colleague to take notes
Let’s get started…
If your photos are in hardcopy then you can probably handle 6-8 people per discussion. If you are taking the computer approach then the group size is likely to need to be 2-3 people maximum (you can also run the interviews with individuals). To start, briefly welcome your participants and thank them for their time and input, and explain how you’re going to use the information you collect.
Once your participants are happy to proceed, display the photos randomly on the table / computer screen. Ask participants to individually select one that is particularly important to them based on a question relating to the information you want to collect. Normally you would select 2-3 questions maximum and ask each question in turn but if you’re pushed for time you could combine them, e.g. ask participants to select say 3 separate images in one go, representing, e.g. 1) their favourite part, 2) a point where they learned something, and 3) something they felt could be improved.
Emphasise to your participants that they should go with their initial instincts regarding which image(s) they select and also that they should then try to think briefly about the reasons that prompted that choice. Encourage your participants to physically pick up their chosen image, inviting them in turn to share which image they have selected, and why, prompting if necessary to delve a little deeper. When recording the details of these discussions, make sure you capture which image and which part of the event related to each explanation.
Try to summarise any common themes or contrasting experiences, and invite wider discussion. It’s important to let the participants tell the story in their own words, and to come up with their own links – this will give you the best insights into any misconceptions or potential outcomes that your event has achieved.
OK, what do I do with my data now?
Once you’ve finished your discussions, try to identify any common patterns, and what they mean for your programme. Are there particular parts of the event that regularly prompted audience reactions (whether positive or negative)? Do the participant reactions match what you hoped to achieve? Did any of the reactions surprise you? What can you change in response to the reactions recorded? For most purposes, a reflective, thoughtful review of the data is likely to be sufficient, without further detailed analysis. However, if you wish you could also apply the thematic coding approach to the qualitative data you collect. If the participants have taken any particularly useful images, you could also ask permission to use them, for example in reports, or on the programme website.
Got it! How can I take this further?
The technique described above can also be successfully applied using more generic images. This is particularly useful for conducting formative evaluation, to inform further planning or revision of the event or activity itself. Prepare a series of say 20 images representing a range of people / situations / backgrounds etc. You can then run the discussion in the same way as described above, with the advantage that the cards can be pre-prepared and numbered for easy identification during reporting.
Can I use this in an online workshop
You can ask participants to take screenshots during online workshops at points that that made an impact on them, or find an image on the internet that represents their response to your question. In your discussion session, ask participants to upload their images to an interactive whiteboard platform, such as Miro or Mural, and your participants can invite the rest of the group to follow them and talk about their selection.
Similar Alternatives
Scrapbook Selection – Put students in groups and give each group a big pile of printed (laminated) photos. Ask them to choose one as a group that epitomises their reaction/definition of the topic being discussed, and explain why.
Digital storytelling – A computer-based approach where participants put together a narrative based on their chosen images (https://elearningindustry.com/18-free-digital-storytelling-tools-for-teachers-and-students).
With thanks to University of Central Florida for the ‘Scrapbook Selection’ tool and Learning Space Toolkit for the ‘Individual Photo Interviews’ technique.
Download Worksheet
Download the Photograph diary tool worksheet.
Case study: Photograph diary from Europlanet Summer School 2018
Back to Tools

